First international trip tips for Indians cover far more ground than most travel blogs will tell you — and the gap between what you read online and what actually happens at the airport is exactly where first-timers run into trouble. This guide is different. It is written specifically for Indian passport holders taking their first trip abroad, covering every stage from choosing your destination and applying for a visa, to navigating Indian departure immigration, landing at a foreign airport, handling money without getting ripped off, and dealing with the things that go wrong. Not hypothetically wrong — actually wrong, based on the specific mistakes Indian first-time travelers make most often.
Your first international trip is genuinely exciting. A foreign airport, a new currency, a language you do not speak, food you have not tasted, and the particular feeling of walking out of arrivals into a country that is entirely unfamiliar — these are experiences worth having. The purpose of this guide is to make sure the paperwork, the money, and the logistics are handled so cleanly that none of those things interfere with the experience itself. By the time you finish reading, you will be more prepared for your first international trip than most people who have already done it three times.
Step 1 — Choose the Right Destination for Your First International Trip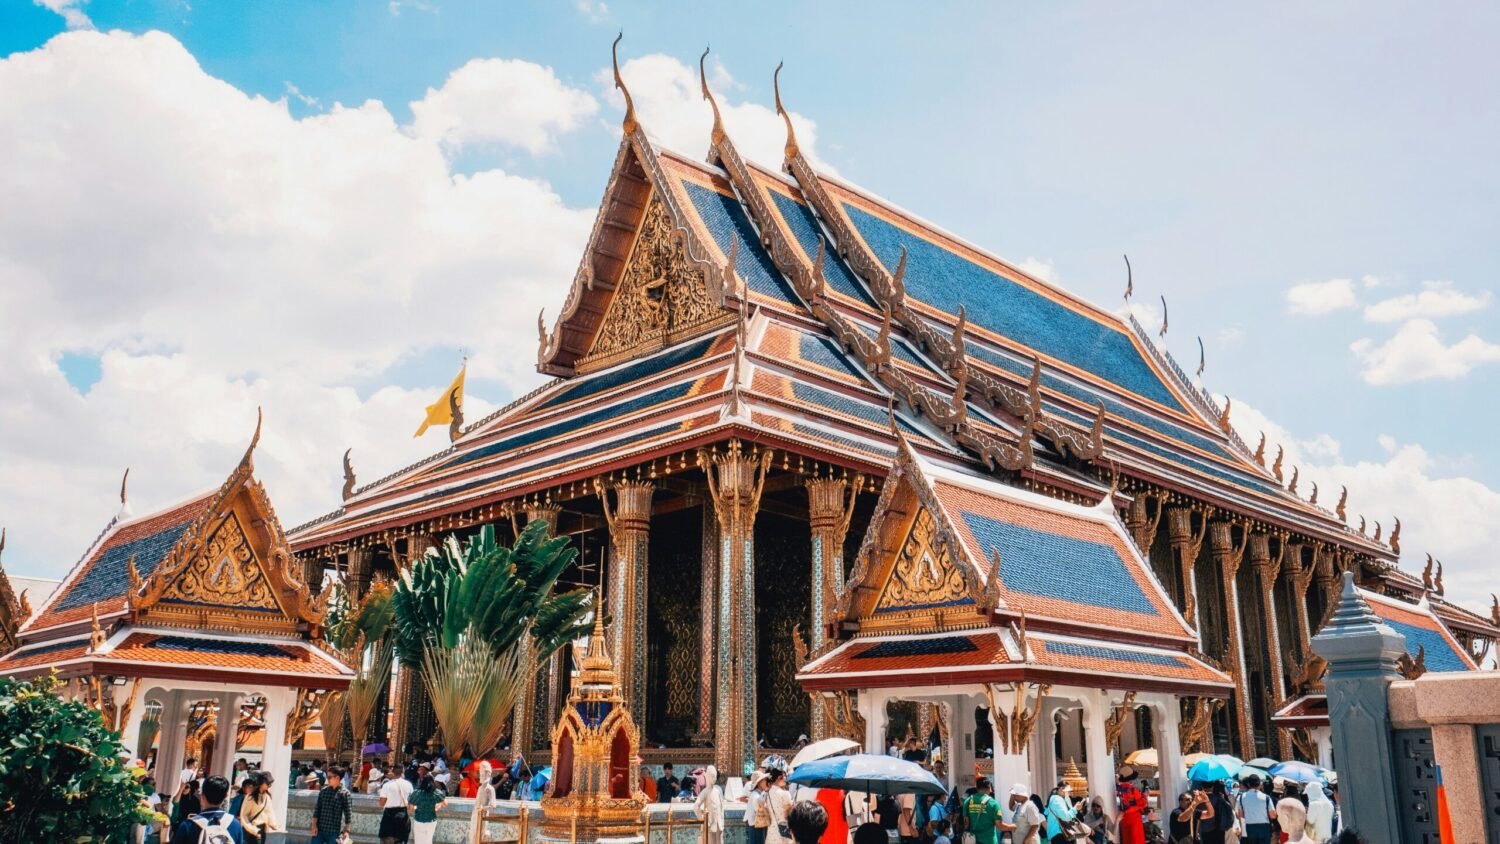
The best first international trip destination for Indians is not the most exotic one on your list — it is the one most likely to go smoothly. For a first trip abroad, certain qualities matter more than any particular attraction: easy visa process, direct or short flights from India, English widely understood, familiar enough food that dietary anxiety does not dominate the trip, good infrastructure, and an established tourist ecosystem that makes navigating easy even without experience.
| Destination | Visa Ease | Flight Time from India | Budget (7 days, per person) | Why Good for First-Timers |
|---|---|---|---|---|
| Thailand | 60-day visa-free (from Feb 2026) | 3.5–4.5 hrs | ₹40,000–₹75,000 | Easiest entry, massive Indian traveler community, familiar food, English widely spoken in tourist areas |
| Bali, Indonesia | e-VOA required (~₹2,800) | 6.5–7.5 hrs (direct) | ₹45,000–₹90,000 | Incredible value, Hindu-Buddhist culture familiar to Indians, beaches + temples + food in one island |
| Sri Lanka | Free ETA (30 min online) | 1.5–3 hrs | ₹30,000–₹60,000 | Closest international destination, culturally closest to India, currency goes far |
| Dubai / UAE | Visa on arrival (free for Indian passport holders) | 3–3.5 hrs | ₹55,000–₹1,10,000 | Huge Indian diaspora, excellent infrastructure, English everywhere, safety and cleanliness guaranteed |
| Singapore | Visa required (apply in advance) | 5–6 hrs | ₹70,000–₹1,30,000 | Safest, cleanest, most organized first international experience — extremely family-friendly |
| Malaysia | 30-day visa-free (2026) | 5–6 hrs | ₹40,000–₹80,000 | Large Tamil and Indian community, halal + vegetarian options everywhere, multicultural ease |
| Nepal | Free — no visa needed | 1.5–2 hrs | ₹20,000–₹40,000 | Absolute easiest first trip — no visa, Indian currency partially accepted, Hindu culture |
Step 2 — Passport: The First Thing to Check Before Everything Else
Before you research destinations, before you check flight prices, before you look at hotels — check your passport. This sounds obvious but is the single most common reason Indian first-timers cannot travel when they planned to. Two rules apply to every international trip.
| Passport Check | What to Verify | Action if Problem Found |
|---|---|---|
| Validity | At least 6 months validity beyond your trip’s arrival date | Apply for renewal via Passport Seva portal — Tatkal option delivers in 1–3 working days |
| Blank pages | At least 2 blank pages for visa stamps — some countries require more | If pages are full, apply for a new passport (not renewal — a fresh passport with additional booklet option) |
| Physical condition | No torn pages, no water damage, no loose spine, no unofficial markings | A damaged passport can be rejected at immigration even if valid — apply for a new one |
| Name spelling | Name on passport matches exactly with all flight bookings and visa applications | Even minor spelling differences (Prashant vs Prashant Singh) must match exactly — get it corrected if wrong |
Step 3 — Visa: What Indian Travelers Need to Know
India’s passport gets a reasonable amount of visa-free or visa-on-arrival access as of 2026, but nowhere near as much as a European or American passport. Understanding the three categories of entry clearly saves enormous confusion.
| Entry Category | What It Means | Examples for Indians in 2026 | What to Do |
|---|---|---|---|
| Visa-Free | No visa needed at all — just show passport at immigration | Thailand (60 days), Nepal (no limit), Bhutan, Mauritius, Kenya (eTA required), Jamaica | Check if any digital form (like TDAC for Thailand) is required before boarding — some “visa-free” countries still need pre-arrival registration |
| Visa on Arrival (VOA) / e-Visa | Get visa when you land OR apply online beforehand — both result in stamp/approval on arrival | Bali/Indonesia (e-VOA online), Maldives, Cambodia, Egypt, Jordan, Zimbabwe | Always apply for e-VOA online before traveling — avoids airport queues that can be 45 min–2 hrs long during peak season |
| Prior Visa Required | Must apply at embassy, VFS centre, or online before traveling — cannot get at airport | Dubai/UAE, Singapore, UK, USA, Europe (Schengen), Canada, Australia, Japan | Apply 4–8 weeks before travel for most countries. 8–12 weeks for Schengen and USA due to appointment availability. Apply through official embassy website or VFS Global |
Key Documents Required for Most Tourist Visa Applications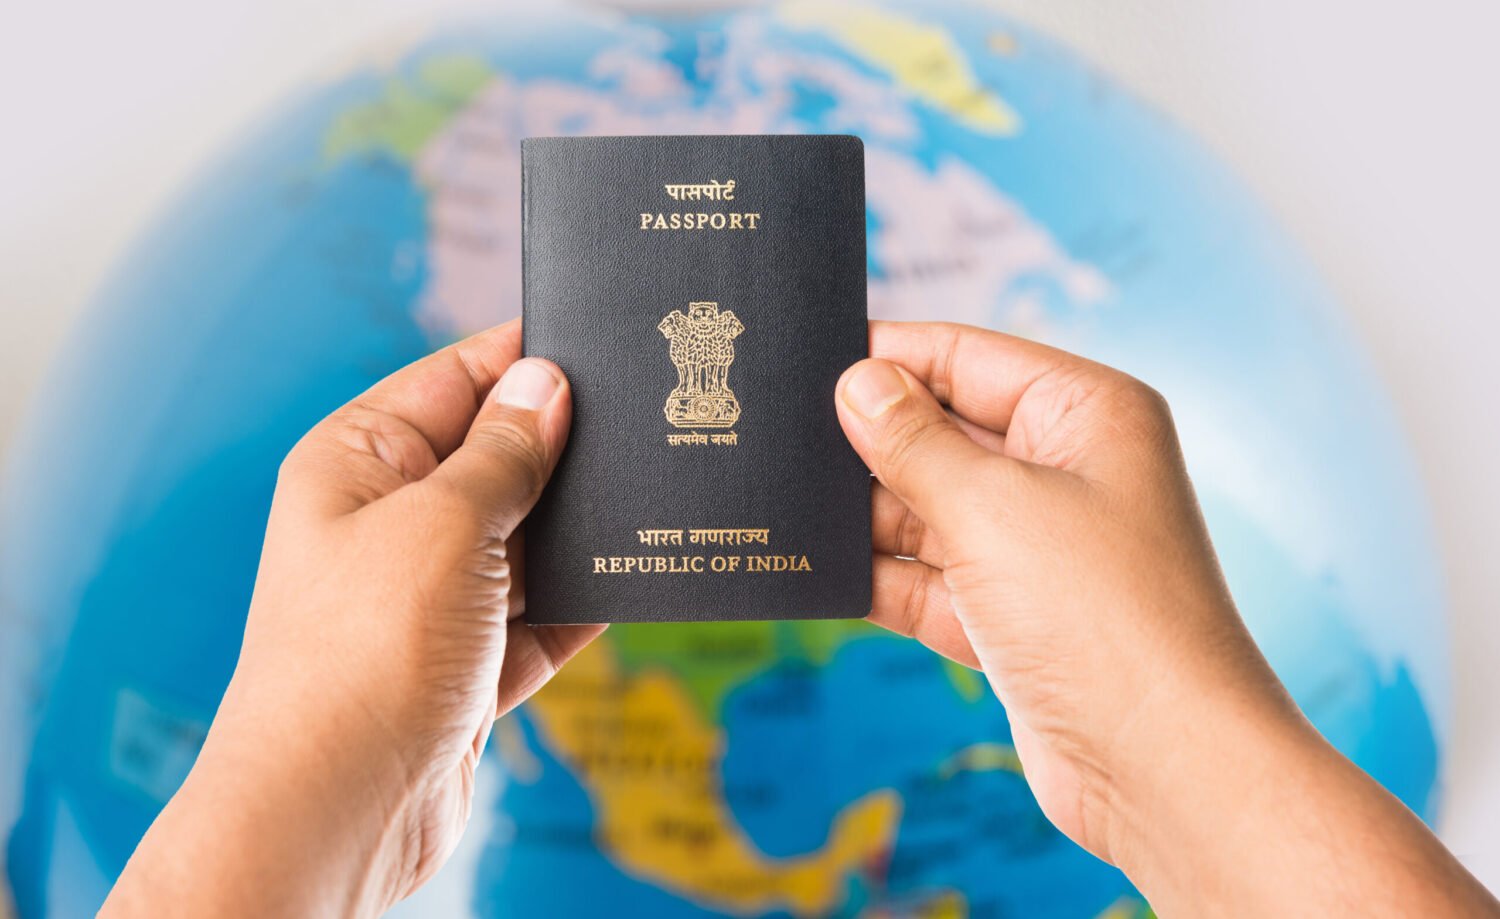
| Document | Specification | Notes |
|---|---|---|
| Passport | Original + photocopy of data page. 6+ months validity, 2+ blank pages | Also carry copies of all previous passports if applicable — travel history helps visa approval |
| Passport photos | 35mm × 45mm, plain white background, matte finish, 80% face coverage, taken within 6 months | Get these done professionally — blurry or incorrectly sized photos cause rejection. Requirements differ slightly per country — check embassy specs |
| Bank statement | Last 6 months, bank-stamped, showing stable balance. Minimum typically ₹5,000–₹9,000 per day of trip | Avoid large unexplained cash deposits in the months before applying — embassies flag this as suspicious. Consistent salary credits look best |
| Confirmed flight booking | Return ticket showing entry and exit from the destination country | Use refundable or “hold” flight bookings if visa not yet approved — do not buy non-refundable tickets before visa is confirmed. Platforms like Etraveli and Travelbooking.com offer flight holds for visa purposes |
| Hotel booking | Confirmed accommodation for every night of stay | Use free-cancellation bookings from Booking.com — book them before the visa application, cancel if visa rejected. Same name as in passport essential |
| Travel insurance | Coverage of at least €30,000 / ₹27 lakh for Schengen. Recommended minimum ₹15 lakh for all international trips | Mandatory for Schengen visa. Strongly recommended for all destinations. Covers medical emergencies, trip cancellation, lost baggage, passport loss |
| Income proof | Salary slips (last 3 months), ITR for last 2 years, Form 16, or business registration + GST returns for self-employed | Students need bonafide letter from institution + parent’s income proof |
| NOC / Leave letter | Letter from employer on company letterhead confirming employment, salary, and approved leave dates | Critical for salaried applicants — shows you have ties to India and will return. Self-employed travelers submit business registration documents instead |
| Cover letter | 1-page letter explaining purpose of trip, itinerary, accommodation details, who is funding the trip, and your ties to India | Keep it factual and clear. Do not over-explain. Mention your job, family (spouse/children/parents), and property ownership if applicable — these are “ties to India” that reassure the embassy you will return |
Step 4 — Money Management for Your First International Trip
Money handling is where Indian first-time international travelers consistently lose the most unnecessary money — at airport exchange counters, through unactivated debit cards, through UPI not working abroad, and through not knowing which payment method to use in which situation. Here is the complete honest guide.
| Payment Method | Best For | Cost / Charge | Indian Recommendation |
|---|---|---|---|
| Zero-Forex Debit Card | All card payments abroad — restaurants, hotels, shopping | Zero foreign transaction fee | Niyo Global, IDFC FIRST WOW, Scapia — apply and activate before travel. Best overall card for first international trips |
| Standard Indian Debit Card (SBI, HDFC, ICICI etc.) | Emergency cash withdrawal from ATMs abroad | 2.5–3.5% forex markup + ₹300–₹500 ATM withdrawal fee per transaction | Enable international transactions before departure (via bank app or call). Use sparingly — costs add up quickly |
| Forex Card (pre-loaded) | Carrying foreign currency digitally at locked exchange rate | Loading fee + small transaction charges | Load at BookMyForex.com or Thomas Cook — better rates than banks. Useful for destinations where you will spend heavily in cash |
| Cash (foreign currency) | Local transport, street food, markets, tips, small vendors | Exchange rate dependent | Exchange at BookMyForex.com (home delivery available) or bank branch before travel. NEVER exchange at airport — rates are 8–15% worse than market |
| International Credit Card | Large purchases, hotel deposits, car rentals | 2.5–3.5% forex markup unless zero-forex card | Activate international usage via bank app. Always choose to pay in LOCAL CURRENCY — never in INR when the POS machine asks (this is called Dynamic Currency Conversion and always worse for you) |
How Much Cash to Carry on Your First International Trip
| Destination | Carry in Local Currency | Equivalent in ₹ | Notes |
|---|---|---|---|
| Thailand (THB) | THB 5,000–8,000 | ~₹12,000–₹19,000 | Cards accepted at most shops but street food + tuk-tuks need cash |
| Bali / Indonesia (IDR) | IDR 2,000,000–3,000,000 | ~₹10,500–₹16,000 | Warungs and markets are cash-only. Exchange at authorized changers in Kuta, not airport |
| Dubai / UAE (AED) | AED 500–800 | ~₹11,500–₹18,400 | Cards accepted almost everywhere but carry some AED for taxis and small shops |
| Singapore (SGD) | SGD 200–300 | ~₹12,500–₹18,800 | Card payments standard everywhere. Cash needed only for hawker centres and some local transport |
| Europe (EUR) | EUR 100–200 | ~₹9,200–₹18,400 | Cards accepted almost everywhere. Small towns and markets may need cash |
| Sri Lanka (LKR) | LKR 15,000–25,000 | ~₹4,200–₹6,900 | Exchange at Colombo airport (better than India airport rates). Cards work in major cities |
Step 5 — Travel Insurance: Why It Is Non-Negotiable for First-Timers
Travel insurance is the most consistently skipped item on every Indian first-timer’s preparation list — and the most expensive item to not have when something goes wrong. A basic medical emergency abroad, even in Thailand or Bali, can cost ₹50,000 to ₹3,00,000 without insurance. A medical evacuation from a remote destination costs multiples of this. A missed connecting flight caused by the airline can be recovered at zero cost with insurance but means buying a full-price new ticket without it.
| What Travel Insurance Covers | Why It Matters for Indians | Typical Cost (7 days) |
|---|---|---|
| Medical emergencies abroad | Indian national health insurance (CGHS, ESIC) does not work abroad. Private health insurance rarely covers treatment outside India | Included in policy |
| Trip cancellation / interruption | Visa rejection, flight cancellation, family emergency — all covered if you have a policy that includes this | Included in policy |
| Lost / delayed baggage | Airlines misplace bags frequently on connecting international routes — compensation of ₹5,000–₹15,000 while bag is found | Included in policy |
| Passport loss abroad | Lost passport abroad requires emergency certificate from Indian embassy — insurance covers expenses during this process | Included in policy |
| Flight delay (6+ hours) | Covers accommodation and meals during extended delays | Included in policy |
| Total cost for 7-day Asia trip | Comprehensive coverage as above | ₹700–₹1,200 per person |
| Total cost for 10-day Europe trip | Schengen-compliant (minimum €30,000 coverage — mandatory for visa) | ₹1,500–₹2,500 per person |
Step 6 — Packing Smart for Your First International Trip
| Category | What to Pack | First-Timer Notes |
|---|---|---|
| Documents (carry-on only) | Passport, visa/ETA printout, flight tickets, hotel confirmations, travel insurance, emergency contacts | Keep ALL documents in one travel pouch in your carry-on bag — never in checked luggage. Print physical copies AND save digital copies in Google Drive and email to yourself |
| Money | Zero-forex card, international debit card (activated), local currency cash, small amount of USD as backup | USD is universally convertible — carry USD 100–200 as emergency backup regardless of destination |
| Electronics | Phone, charger, power bank (min 10,000 mAh), universal travel adapter, earphones | Universal adapter is essential — socket types vary by country. India uses Type C and D — most of the world uses Type A, C or G |
| Medicines | Prescription medicines (7-day extra supply), paracetamol, ORS, loperamide (anti-diarrheal), antihistamine, antacid, any personal medications | Carry all medicines in original packaging with your prescription if possible. Some medicines common in India (certain codeine-based cough syrups, specific sleeping tablets) are controlled or banned in other countries — check before packing |
| Clothing | 3–4 days of clothing (laundry available everywhere), weather-appropriate layer, one formal outfit, comfortable walking shoes, flip-flops | Overpack is the universal first-timer mistake. Most international destinations have laundry services. Roll clothes to save space. Leave room for shopping |
| Toiletries (carry-on) | All liquids under 100 ml in a clear zip-lock bag — toothpaste, face wash, moisturizer, deodorant | 100 ml liquid rule applies to ALL carry-on liquids without exception. Airport security will confiscate larger containers. Check-in bag has no liquid restriction |
| SIM / Connectivity | International SIM, eSIM (Airalo, Holafly), or destination SIM bought at arrival airport | Do NOT rely on Indian SIM roaming — charges are ₹50–₹150 per MB data without an international pack. Buy a local SIM at your destination airport or get an eSIM before departure. eSIMs from Airalo start at $3–$5 for 1 GB in most Asian destinations |
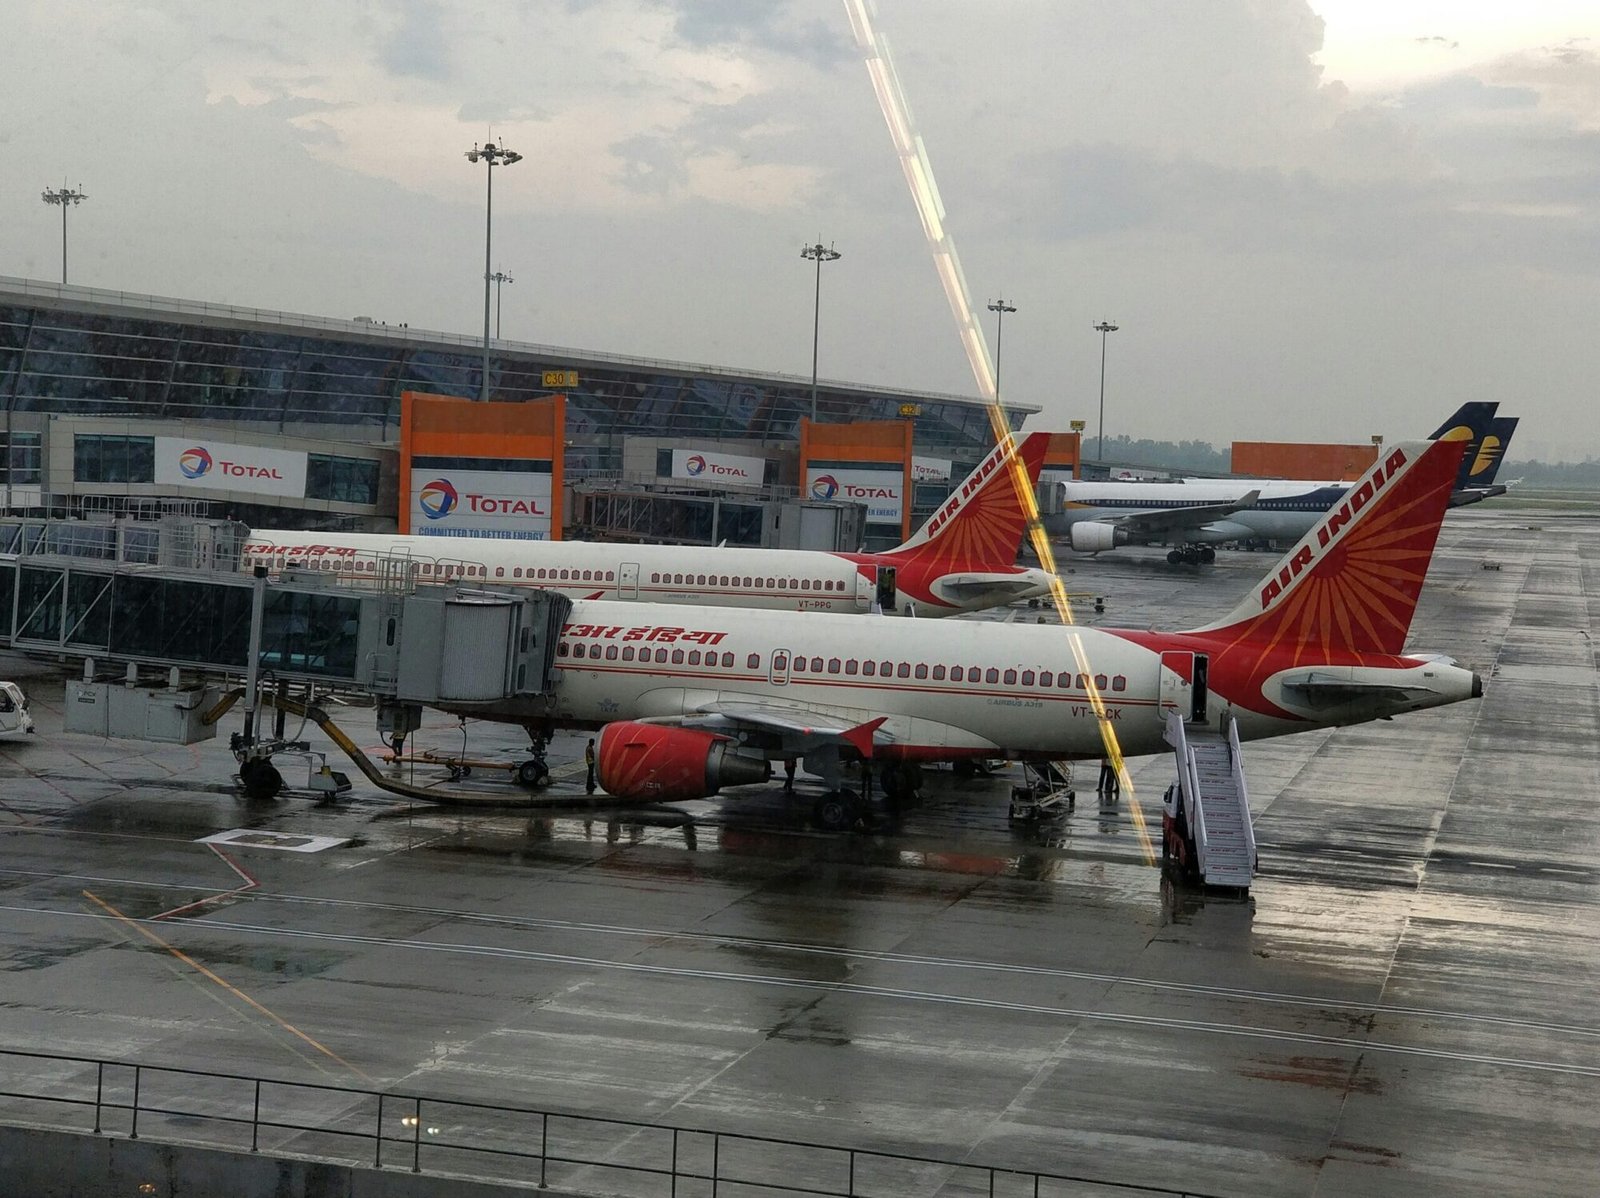
The Indian airport departure process for international flights has more steps than domestic travel and more potential points of confusion. Here is the exact sequence, from arriving at the airport to sitting in your seat on the plane.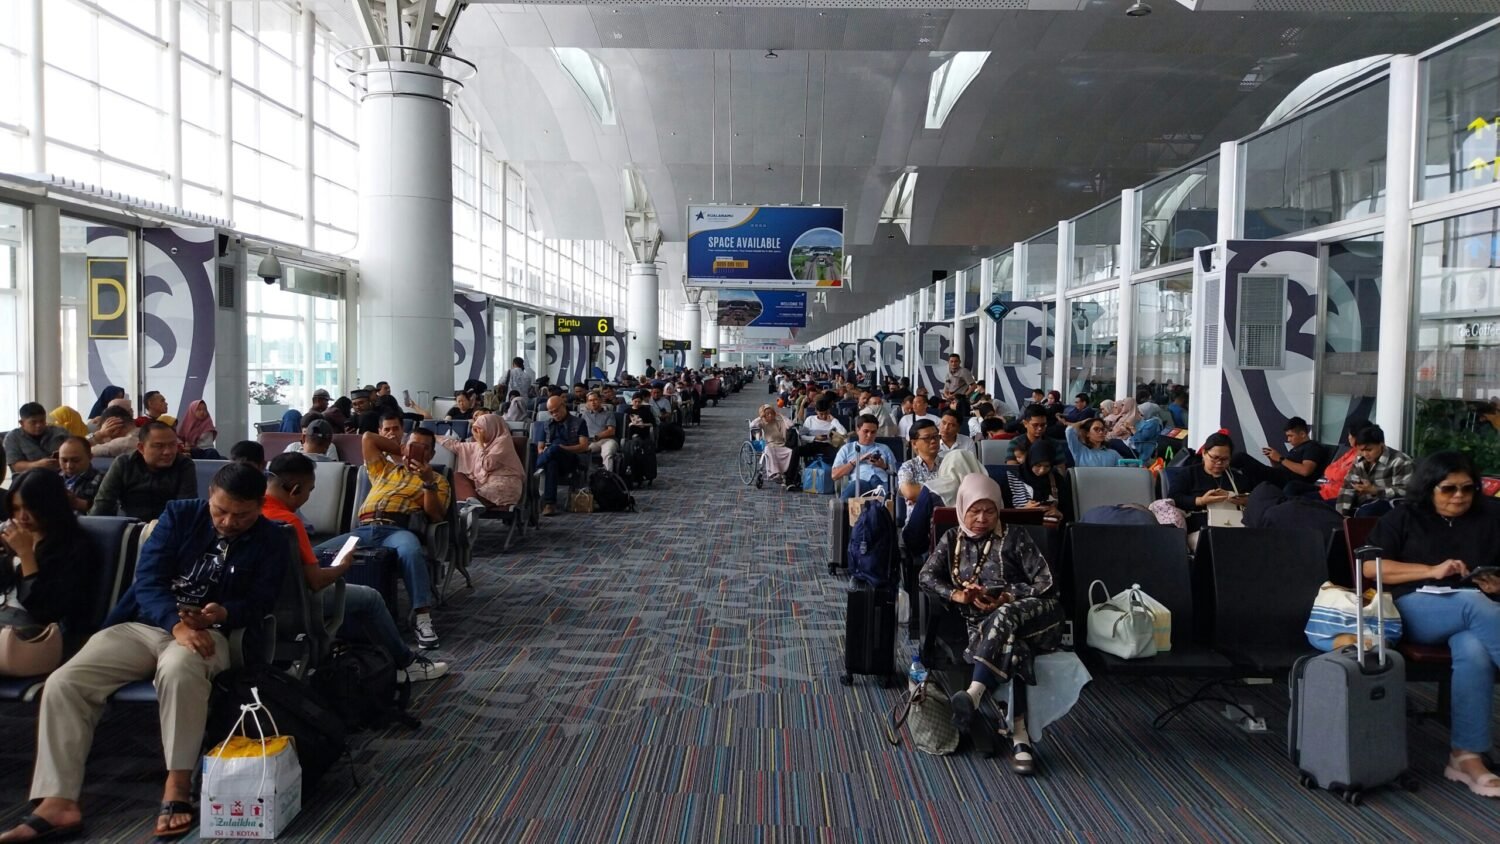
At the Indian Departure Airport
- Arrive 3 to 3.5 hours before departure. International check-in counters typically close 60 minutes before departure. Security and immigration can take 30 to 45 minutes at busy airports like Delhi T3 and Mumbai T2 during late-night departure windows. Arriving 3.5 hours early eliminates all arrival stress.
- Find the pre-check counter first (if applicable). Some airlines — particularly those flying to Bali, Thailand, and Southeast Asia — require document verification at a small pre-check counter before you join the main check-in queue. This counter verifies your visa, arrival card, and passport. No signs clearly indicate this counter. Ask any airline staff member as soon as you enter the terminal.
- Check-in and bag drop. Present passport and booking reference. Check in your luggage. Confirm your seat assignment. You will receive your boarding pass. Keep this with your passport at all times — you will need it at every subsequent checkpoint.
- Indian departure immigration (emigration control). Join the “Indian Citizens” queue. The immigration officer will verify: your passport (with valid visa for destination), your boarding pass, and occasionally your hotel booking and return ticket — have them accessible on your phone. Answer confidently: “Purpose of visit? Tourism. How long? [X] days. Where staying? [Hotel name].” The officer stamps your passport with an exit stamp. This is the last Indian government verification before you board.
- Security screening. Remove laptops and electronics from your bag. Liquids in carry-on must be in a clear zip-lock bag, each container under 100 ml. Remove shoes if asked (not always required at Indian airports). Place all metal items in the tray.
- Find your gate. Check the departure board for your gate number and walk to it. Large airports (Delhi T3, Mumbai T2) have gates that are a 10 to 20 minute walk. Allow time and check the board again before settling at the gate — gates change.
- Board. Boarding begins 45 to 60 minutes before departure. Have passport and boarding pass ready to scan. Once on board, stow your carry-on bag in the overhead locker directly above your seat, not the nearest empty space.
At the Foreign Arrival Airport
- Fill the arrival card if given on the flight. Many countries still issue paper arrival cards on the plane — fill it in ink, clearly, using information that matches your passport exactly. Some countries (like Bali after August 2025) use fully digital forms — complete these before boarding.
- Visa counter (if VOA). If you are getting a Visa on Arrival at the airport (and did not apply e-VOA online), go to the VOA counter before immigration. Present passport, pay the visa fee, and receive your visa stamp. Skip this if you already have an e-VOA, e-visa, or visa sticker in your passport.
- Immigration. Join the “Foreigners” queue. Have ready: passport with visa, arrival card (paper or digital QR code), hotel booking confirmation, return ticket. Common questions: purpose of visit, hotel name, how long you are staying, who you are visiting. Answer calmly and briefly. The officer stamps your entry — this stamp shows your permitted stay duration. Keep track of this date.
- Collect checked baggage. Check the baggage belt number on the arrivals screen — it corresponds to your flight number. Wait at the correct belt. If your bag does not arrive within 20 minutes of the last bag from your flight, go to the airline’s baggage office immediately and file a report. Do this before exiting the baggage area — you will need your boarding pass stub and a contact address in the destination country.
- Customs. Walk through the green channel (nothing to declare) unless you are carrying items above the customs allowance for that country. Customs allowances vary — India’s standard outbound allowance is ₹50,000 of goods duty-free when returning. Check the destination country’s rules before packing.
- Exit to arrivals hall — do not accept random taxi offers. The moment you exit customs you will be approached by unofficial taxi operators offering “good price.” These are almost always 2 to 3 times the standard fare. Use only pre-booked transfers (organized before travel), official prepaid taxi counters inside the airport, or ride-hailing apps (Grab in Southeast Asia, Uber in Dubai and Singapore) on your phone.
Step 8 — Safety and Emergency Preparedness
| Safety Measure | What to Do |
|---|---|
| Register on MADAD portal | The Indian Ministry of External Affairs runs MADAD (madad.gov.in) — a consular services portal where you can register your travel and get emergency assistance if things go wrong abroad. Takes 5 minutes to register before departure. In serious situations (lost passport, arrest, medical emergency), this portal connects you with the nearest Indian embassy or consulate |
| Save Indian Embassy number for destination country | Find and save the 24-hour emergency number for the Indian Embassy or Consulate in your destination country before you travel. For example: Indian Embassy Bangkok +66-2-258-0300. Indian Embassy Dubai +971-4-397-1222. Indian High Commission Singapore +65-6737-6777 |
| Share itinerary with family | Send your complete day-by-day itinerary, hotel names, phone numbers, and flight details to at least two family members before departure. Share live location via WhatsApp when moving between cities |
| Lost passport abroad | Report to local police immediately and get a First Information Report (FIR) or equivalent. Then contact the nearest Indian Embassy — they can issue an Emergency Certificate (EC) to return to India. Your travel insurance covers expenses during this process |
| Lost / delayed baggage | File a Property Irregularity Report (PIR) at the airline baggage desk before leaving the airport. Most bags are recovered within 24 to 48 hours and delivered to your hotel. Keep your boarding pass stub — needed for the report |
| Medical emergency | Call your travel insurance company’s emergency number first — they can direct you to the nearest covered hospital and coordinate directly with the facility. Keep this number saved on your phone and in your travel pouch |
Complete Pre-Departure Checklist — First International Trip for Indians
| Timeline | Task | Done? |
|---|---|---|
| 8–12 weeks before | Check passport validity (6+ months from trip date). Apply for renewal if needed | ☐ |
| 8–12 weeks before | Apply for visa (embassy / VFS) if prior visa required. For Schengen and USA — 12 weeks minimum | ☐ |
| 6–8 weeks before | Book flights. Book accommodation (free cancellation bookings) | ☐ |
| 4–6 weeks before | Apply for zero-forex card (Niyo Global / IDFC FIRST WOW / Scapia) — takes 7–14 days to arrive | ☐ |
| 4–6 weeks before | Buy travel insurance. Check it covers your activities (adventure sports, pre-existing conditions) | ☐ |
| 2–4 weeks before | Apply for e-VOA or digital entry form if required (Bali, Thailand TDAC, etc.) | ☐ |
| 1–2 weeks before | Exchange currency at BookMyForex or bank. Enable international transactions on debit/credit card | ☐ |
| 1 week before | Register on MADAD portal. Save Indian Embassy emergency number. Share itinerary with family | ☐ |
| 3 days before | Download offline Google Maps for destination. Get eSIM or plan local SIM purchase at airport | ☐ |
| 1–2 days before | Web check-in online. Confirm hotel booking and airport transfer. Weigh luggage | ☐ |
| Day of departure | Print passport copies × 3, visa copy × 3, hotel booking, insurance. Load all in carry-on travel pouch | ☐ |
| At airport | Arrive 3.5 hours early. Look for pre-check counter. Keep boarding pass and passport accessible at all times | ☐ |
Final Verdict
First international trip tips for Indians all point toward a simple truth: the difference between a first international trip that goes smoothly and one that goes poorly is almost always preparation rather than luck. The traveler who has their passport validity confirmed, their visa applied for early, their zero-forex card activated, their travel insurance bought, their documents printed and organized in a pouch, and their MADAD registration done — that traveler has very little to fear at any airport or immigration counter in the world.
The nervousness of a first international departure is real and universal. The immigration officer’s questions feel significant. The foreign airport feels enormous. The unfamiliar currency feels confusing. All of these feelings are completely normal and they pass within hours — replaced by the particular exhilaration of being somewhere entirely new, which is the reason you planned this trip in the first place.
Go. Prepare well and go. The world’s airports handle millions of first-time Indian international travelers every year, and the overwhelming majority of them land, clear immigration, find their hotel, and have an excellent trip. With the preparation this guide provides, you will be among the most prepared first-timers on your flight.
Also Read :-
| Bali trip cost from India 2026 | Click here |
| visa free countries for Indian passport 2026 | Click here |
| how to get Thailand visa from India | Click here |
| Sri Lanka itinerary 7 days for Indians | Click here |
| budget solo travel India tips for beginners | Click here |
Frequently Asked Questions
What documents do I need for my first international trip from India?
The essential documents for your first international trip from India are: a valid Indian passport with at least 6 months validity beyond your travel dates, a visa or entry authorization for your destination (either prior visa, e-VOA, or confirmation of visa-free entry), return flight tickets, hotel booking confirmations for all nights of stay, travel insurance policy with emergency contact number, and any country-specific digital forms (like Thailand’s TDAC or Bali’s All Indonesia Arrival Card). Carry 3 physical copies of your passport data page and visa separately from the original — lost originals can be partially managed with copies available.
How much money should I carry on my first international trip?
Carry a mix of payment methods rather than relying on a single one. The recommended setup for Indian first-time international travelers is: a zero-forex card (Niyo Global, IDFC FIRST WOW, or Scapia) for all card payments, USD 100 to 200 in cash as universal emergency backup, and local currency equivalent to 2 to 3 days of expenses obtained before departure from BookMyForex (better rates than airport counters). Also enable international transactions on your standard Indian debit or credit card as a backup. UPI does not work abroad — do not plan your foreign trip around it.
How early should I arrive at the airport for my first international flight from India?
Arrive 3 to 3.5 hours before departure for international flights from major Indian airports. International check-in counters at Delhi T3 and Mumbai T2 close 60 minutes before departure. The full process of check-in, document pre-verification, immigration, and security can take 45 minutes to 1.5 hours during peak departure windows (late night flights are particularly busy). Arriving 3.5 hours early eliminates all time pressure and allows for the document pre-check counter verification that some airlines require specifically for Southeast Asian routes.
What questions does Indian immigration ask at departure?
At Indian departure immigration, the officer verifies your passport and boarding pass and may ask: purpose of visit (answer: tourism), how long you are staying, which hotel you are at, your return date, and how much foreign currency you are carrying. Answer briefly and confidently — these are standard questions asked to verify you have a legitimate reason to travel and sufficient funds. Keep your hotel booking confirmation and return ticket accessible on your phone in case they are requested. Have your destination visa ready to show alongside your passport.
Is travel insurance mandatory for Indian travelers going abroad?
Travel insurance is mandatory only for the Schengen visa (Europe) — a minimum coverage of €30,000 is required. For all other destinations, travel insurance is not legally mandatory but is strongly recommended. A single medical emergency abroad — even in Thailand or Bali — can cost ₹50,000 to ₹3,00,000 without insurance. A comprehensive 7-day Asia travel insurance policy costs ₹700 to ₹1,200 from providers like Tata AIG or HDFC Ergo. The cost-benefit calculation makes it one of the most rational travel expenses for any Indian international traveler, regardless of destination.
What are the most common mistakes Indian first-time international travelers make?
The most common mistakes include: not checking passport validity early enough (requiring urgent Tatkal renewal), exchanging currency at airport counters (rates are 8–15% worse than BookMyForex or bank), not enabling international transactions on debit/credit cards before departure, not downloading offline maps before leaving India (mobile data abroad is not guaranteed), assuming UPI will work at the destination, overpacking checked luggage and facing excess baggage fees, booking non-refundable flights before the visa is confirmed, and not buying travel insurance. Every one of these mistakes is entirely preventable with 30 minutes of advance preparation.
Which is the best first international trip destination for Indians?
Thailand is the most recommended first international trip destination for Indians in 2026 — it offers 60-day visa-free entry (as of February 2026), direct flights from Delhi and Mumbai in under 4.5 hours, excellent tourist infrastructure, widely understood English in tourist areas, familiar (if different) Buddhist culture, and outstanding value for money. Sri Lanka is the best option for those wanting an even shorter flight and a culturally closer experience. Dubai is best for those who prioritize safety, cleanliness, and the smoothest possible first international airport experience. Bali is ideal for those who want genuine tropical beauty at an affordable price.